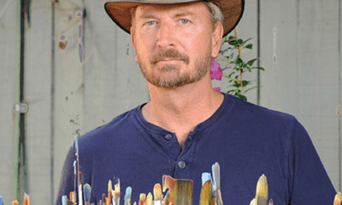
Teaching Oil Painting in College – Angela Batchelor
Angela Batchelor currently lives in Twin Falls, Idaho with her husband, two sons, dog, and a small flock of chickens. She is an Associate Professor of Art at the College of Southern Idaho teaching courses in Painting, Art History, Book Arts, Calligraphy, and Printmaking. Angela maintains an active studio practice with work that meanders between expressive mark-making and mixed media pieces to ones that focus on religious, social, and scientific themes. www.angelabatchelorart.weebly.com
Like many contributors to the Art Treehouse newsletter and website, I started artistically as an oil painter in college. I loved it, until I hated it. The hating was not in the luscious paints or luminous surfaces, but in the smells, headaches and nausea that came with it. Sadly, this aspect was something I thought I just had to accept to be an oil painter. Most of my oil painting classes involved working in a closed studio with a room full of my peers, each with an open container of solvent. The concentration of fumes was overwhelming, and it got so bad that I just couldn’t tolerate the solvents any longer and gave up oils for acrylics.
I thought that was the end of it until I was hired to teach oil painting at the College of Southern Idaho in Twin Falls, Idaho. This new challenge provided me with a determined motivation to find a way to teach the class and maintain the health and safety of everyone in the studio. I explored using water mixable oils but was frustrated by the “gummy” consistency. They have their place in certain types of painting, but sadly they just aren’t the same as traditional oils.
I also explored using OMS (odorless mineral spirits), but I am sensitive to that as well. One thing to keep in mind about art instructors is that we pay the highest price for the materials we choose to use in the classroom. Over years and decades, we are exposed to the toxicity of materials far more than our students who come for a semester and then move on. Combining that with the fact that most painting facilities aren’t accurately set up for solvents with adequate ventilation and this adds to the concern. The quest continued…
I also have a background in printmaking and have witnessed the “green revival” that discipline has undergone in recent decades with artists exploring safer alternatives to the caustic materials used by their predecessors. Some of the newer products have been successful, others not so much. But the important takeaway is that there is active seeking to make processes safer without sacrificing quality. However, oil painting has been slower to move away from harmful solvents. It’s encouraging to find other artists and educators who are determined to find viable solutions.
In my journey I came across Art Treehouse and Robert Maynard, and discovered Kimberly Brooks’ phenomenal book, “The New Oil Painting”. It truly changed my life and I wish I had that book when I was a college student. I can’t recommend it enough. Kimberly was also kind enough to meet with me over Zoom to answer my questions. Although the process I’ve settled on in my classes varies from her approach detailed in the book, the principle is the same – health and safety for all. No headaches, no nausea, just the joy of oil painting. Additionally, many of my students are also painting in dorms or at home with children and pets. This method gives them a way to paint safely no matter where they are. Common sense still applies in the “less toxic” mindset of course, and that is part of my pedagogy. It is by no means a perfect system, as I am always on the look-out for a better method that upholds both quality and safety.
Here is a description of the process I use in my oil painting classes:
1) We use full sheets of heavy paper (usually white or cream) and apply 2-3 thin coats of clear acrylic medium (50/50 mixture of gloss and matte for the right surface) with a large chip brush. The paper is allowed to dry flat for at least 24 hours. We then cut the paper so that students get four pieces from one sheet of prepared paper (around 9”x12” each). Using paper reduces the cost of producing lots of painting studies and is easier for studio storage. Students do get the experience of learning how to stretch and gesso traditional canvas for their final project, so they have both options.
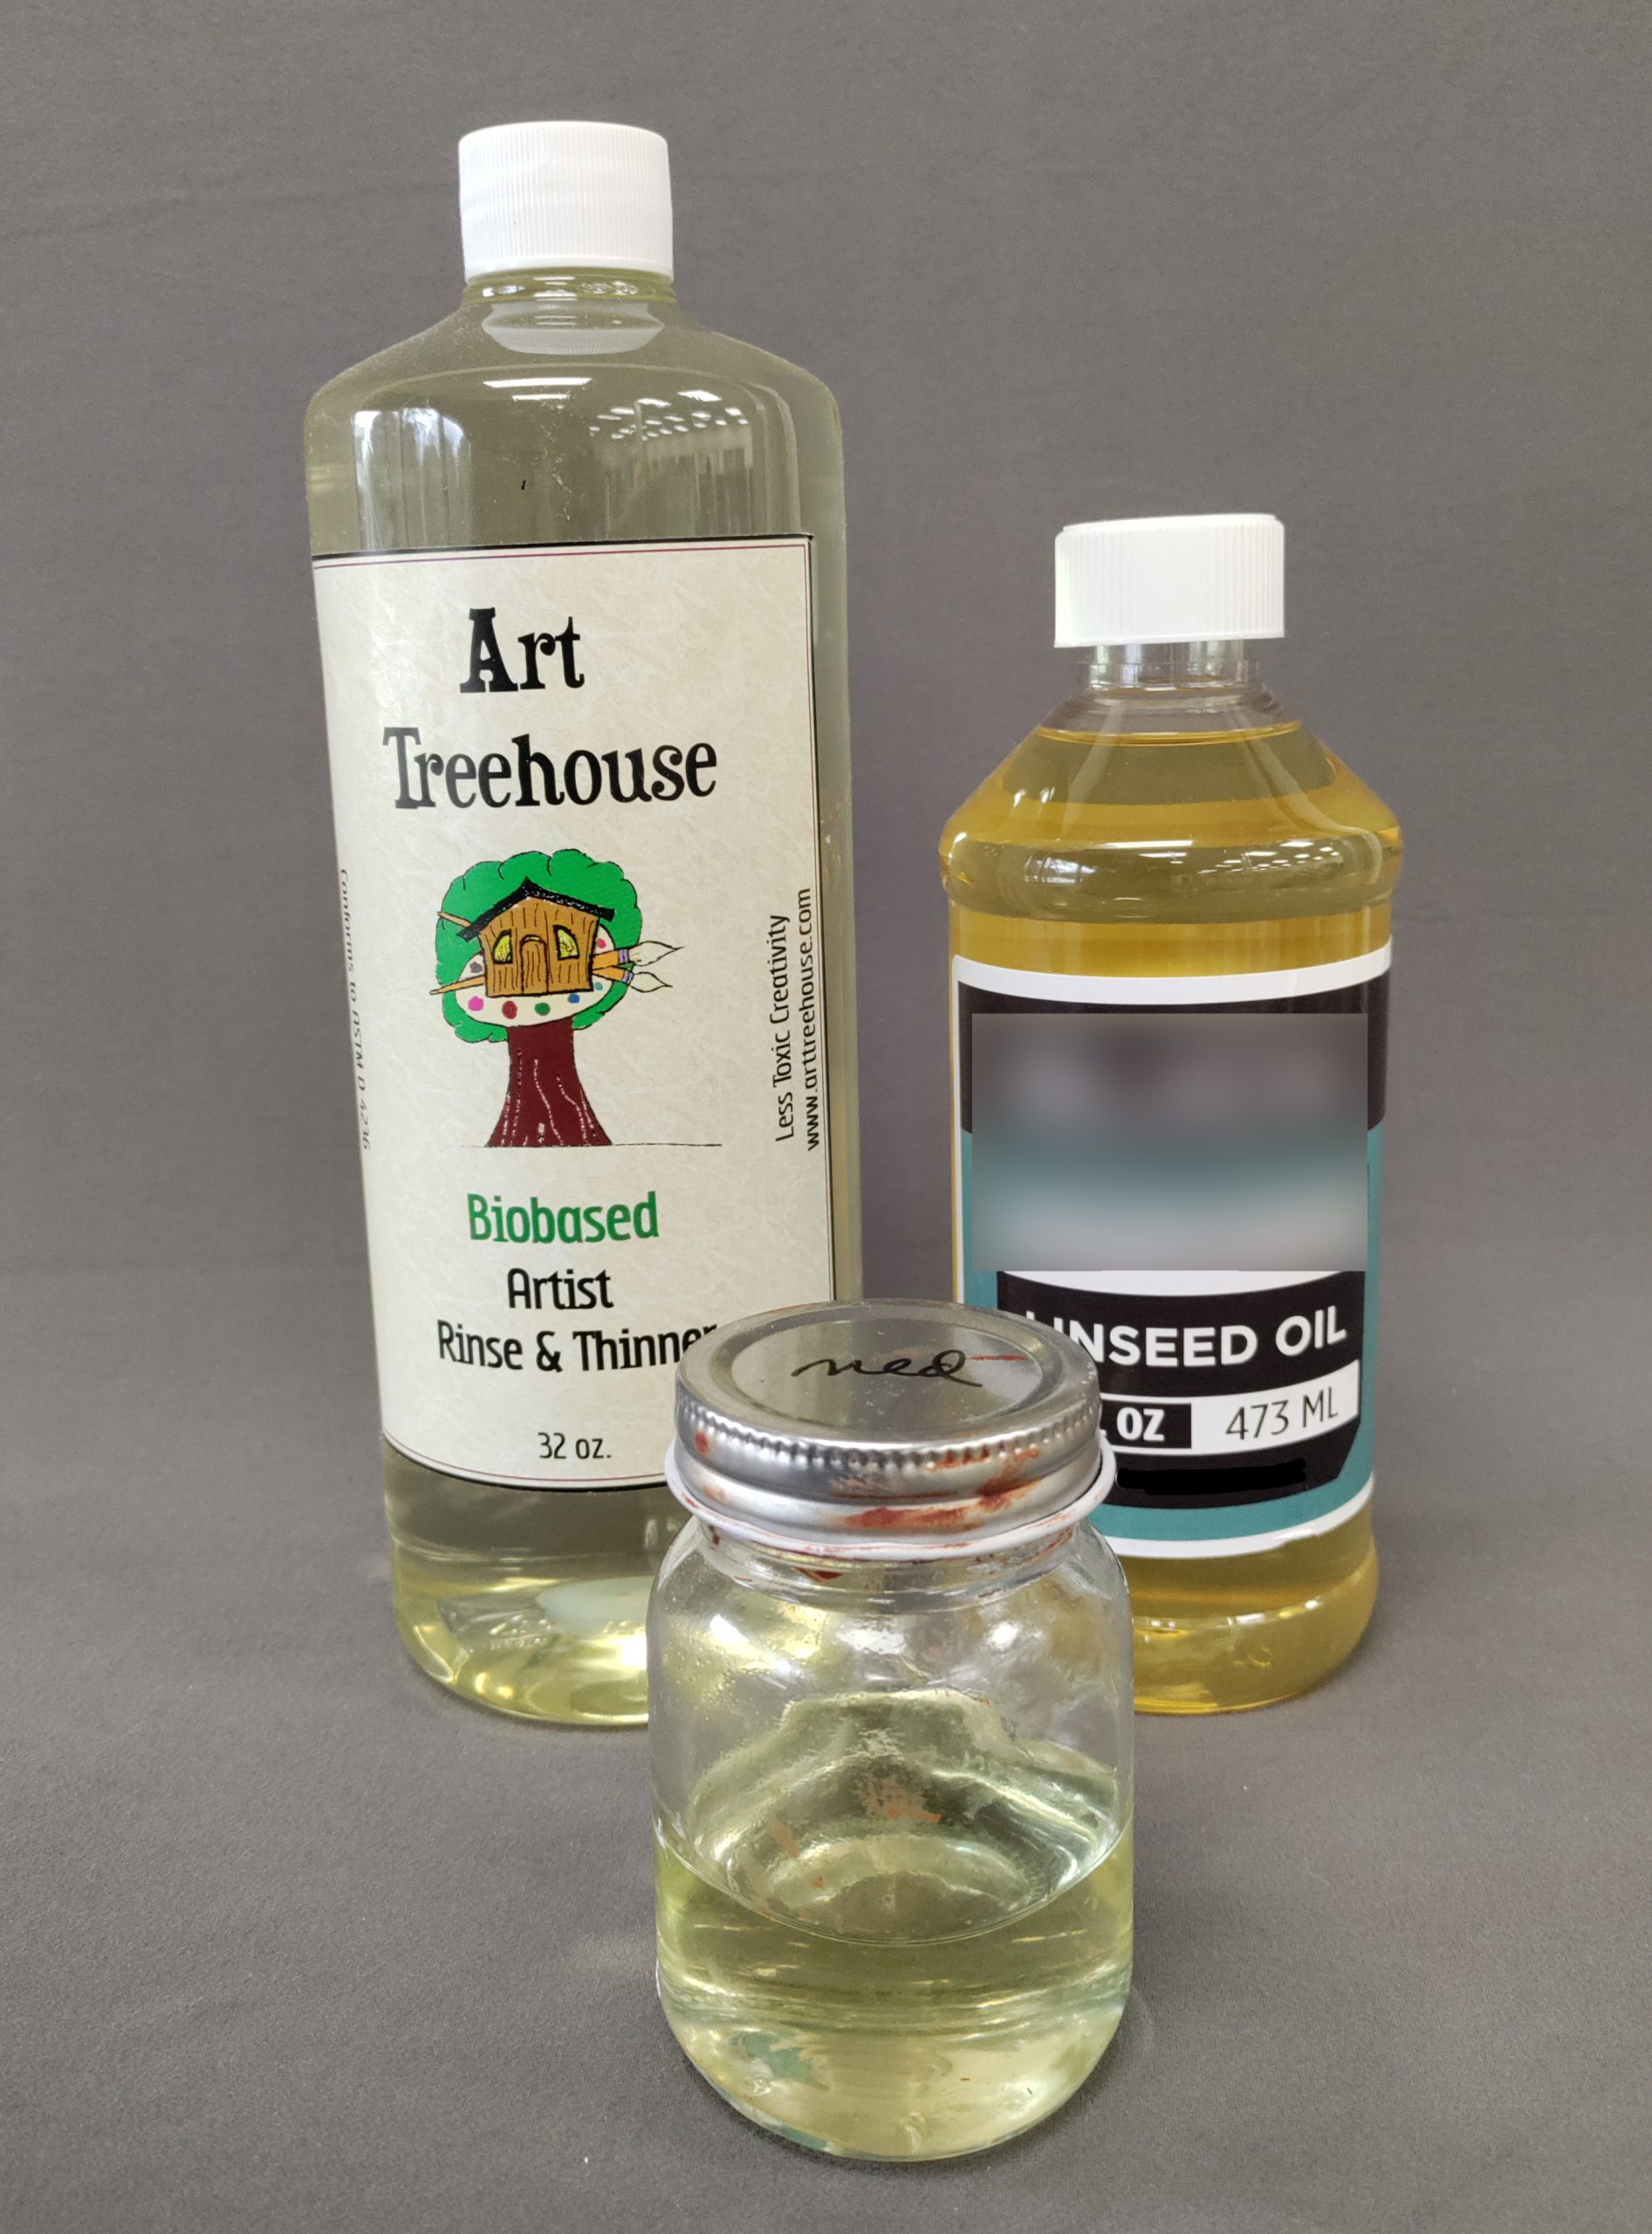
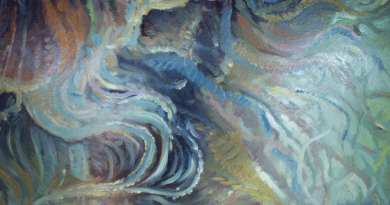
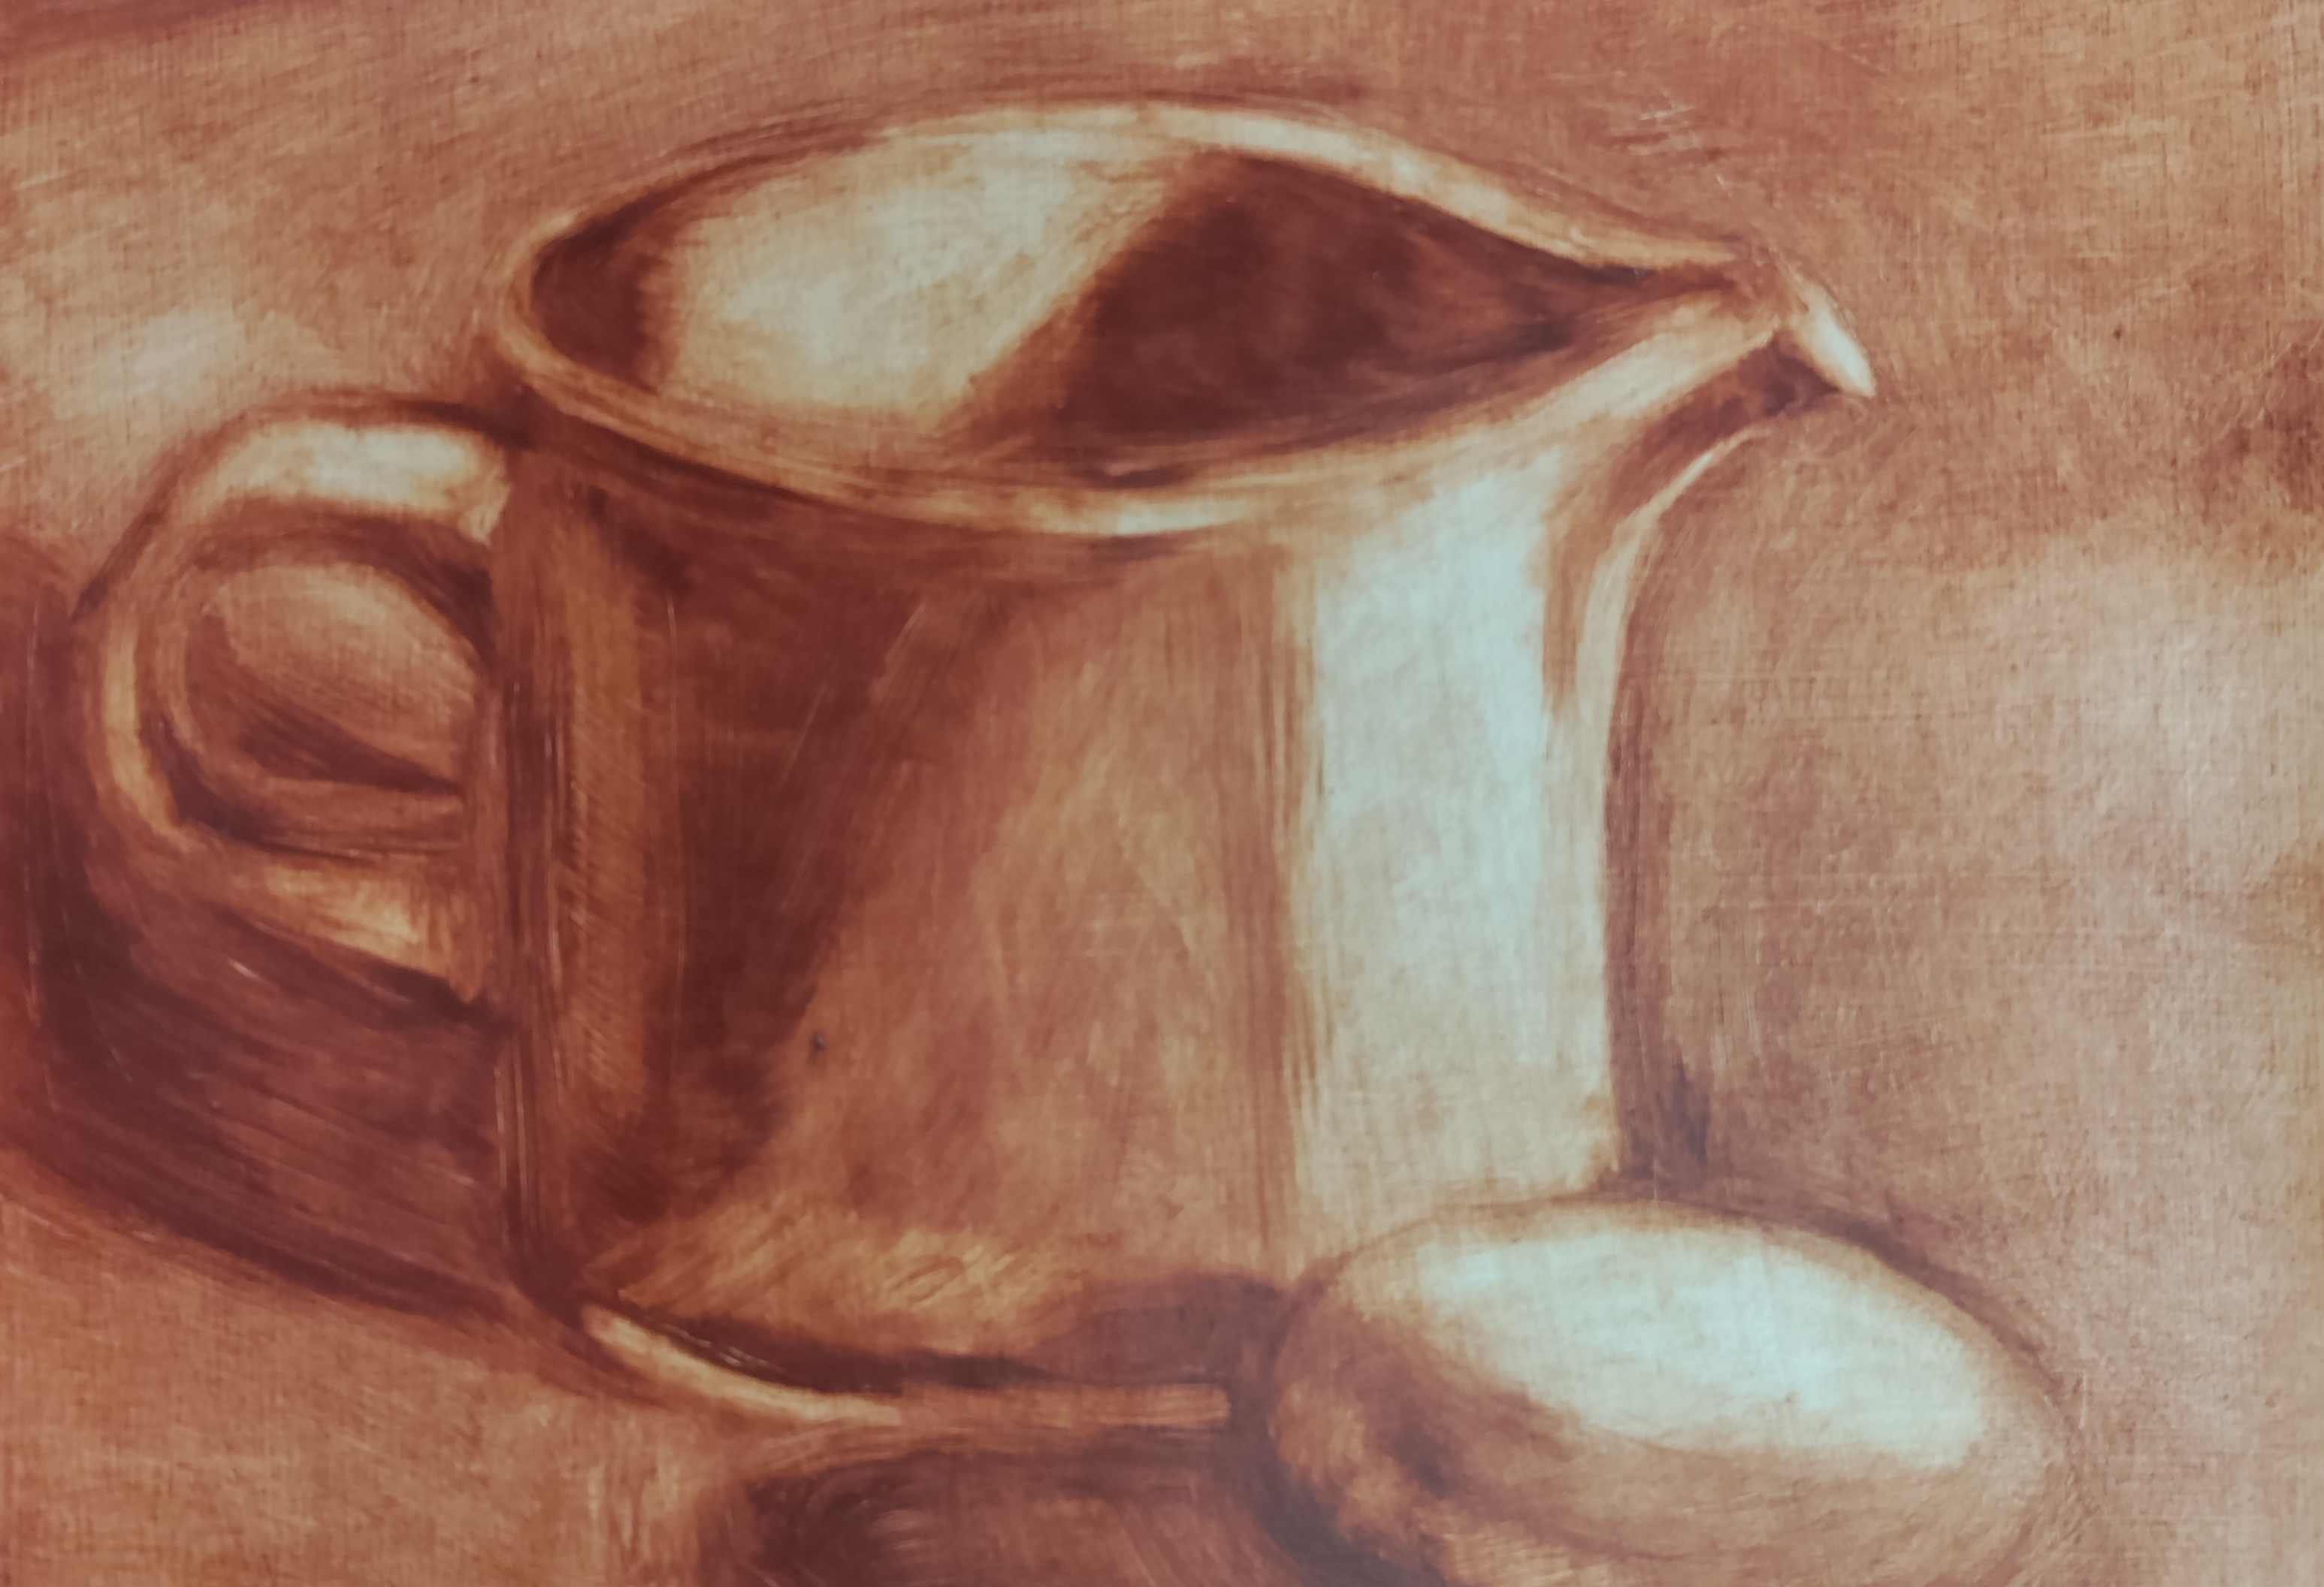
2) For the imprimatura and glazing we use a mixture of 50/50 refined linseed oil and Biobased Artist Rinse & Thinner from Art Treehouse. A small amount mixed with a lean color like Burnt Sienna (loose, but not runny) glides across the paper surface, making it easy to work additively and reductively. The paintings are dry by the following day to then apply the next layer of paint.
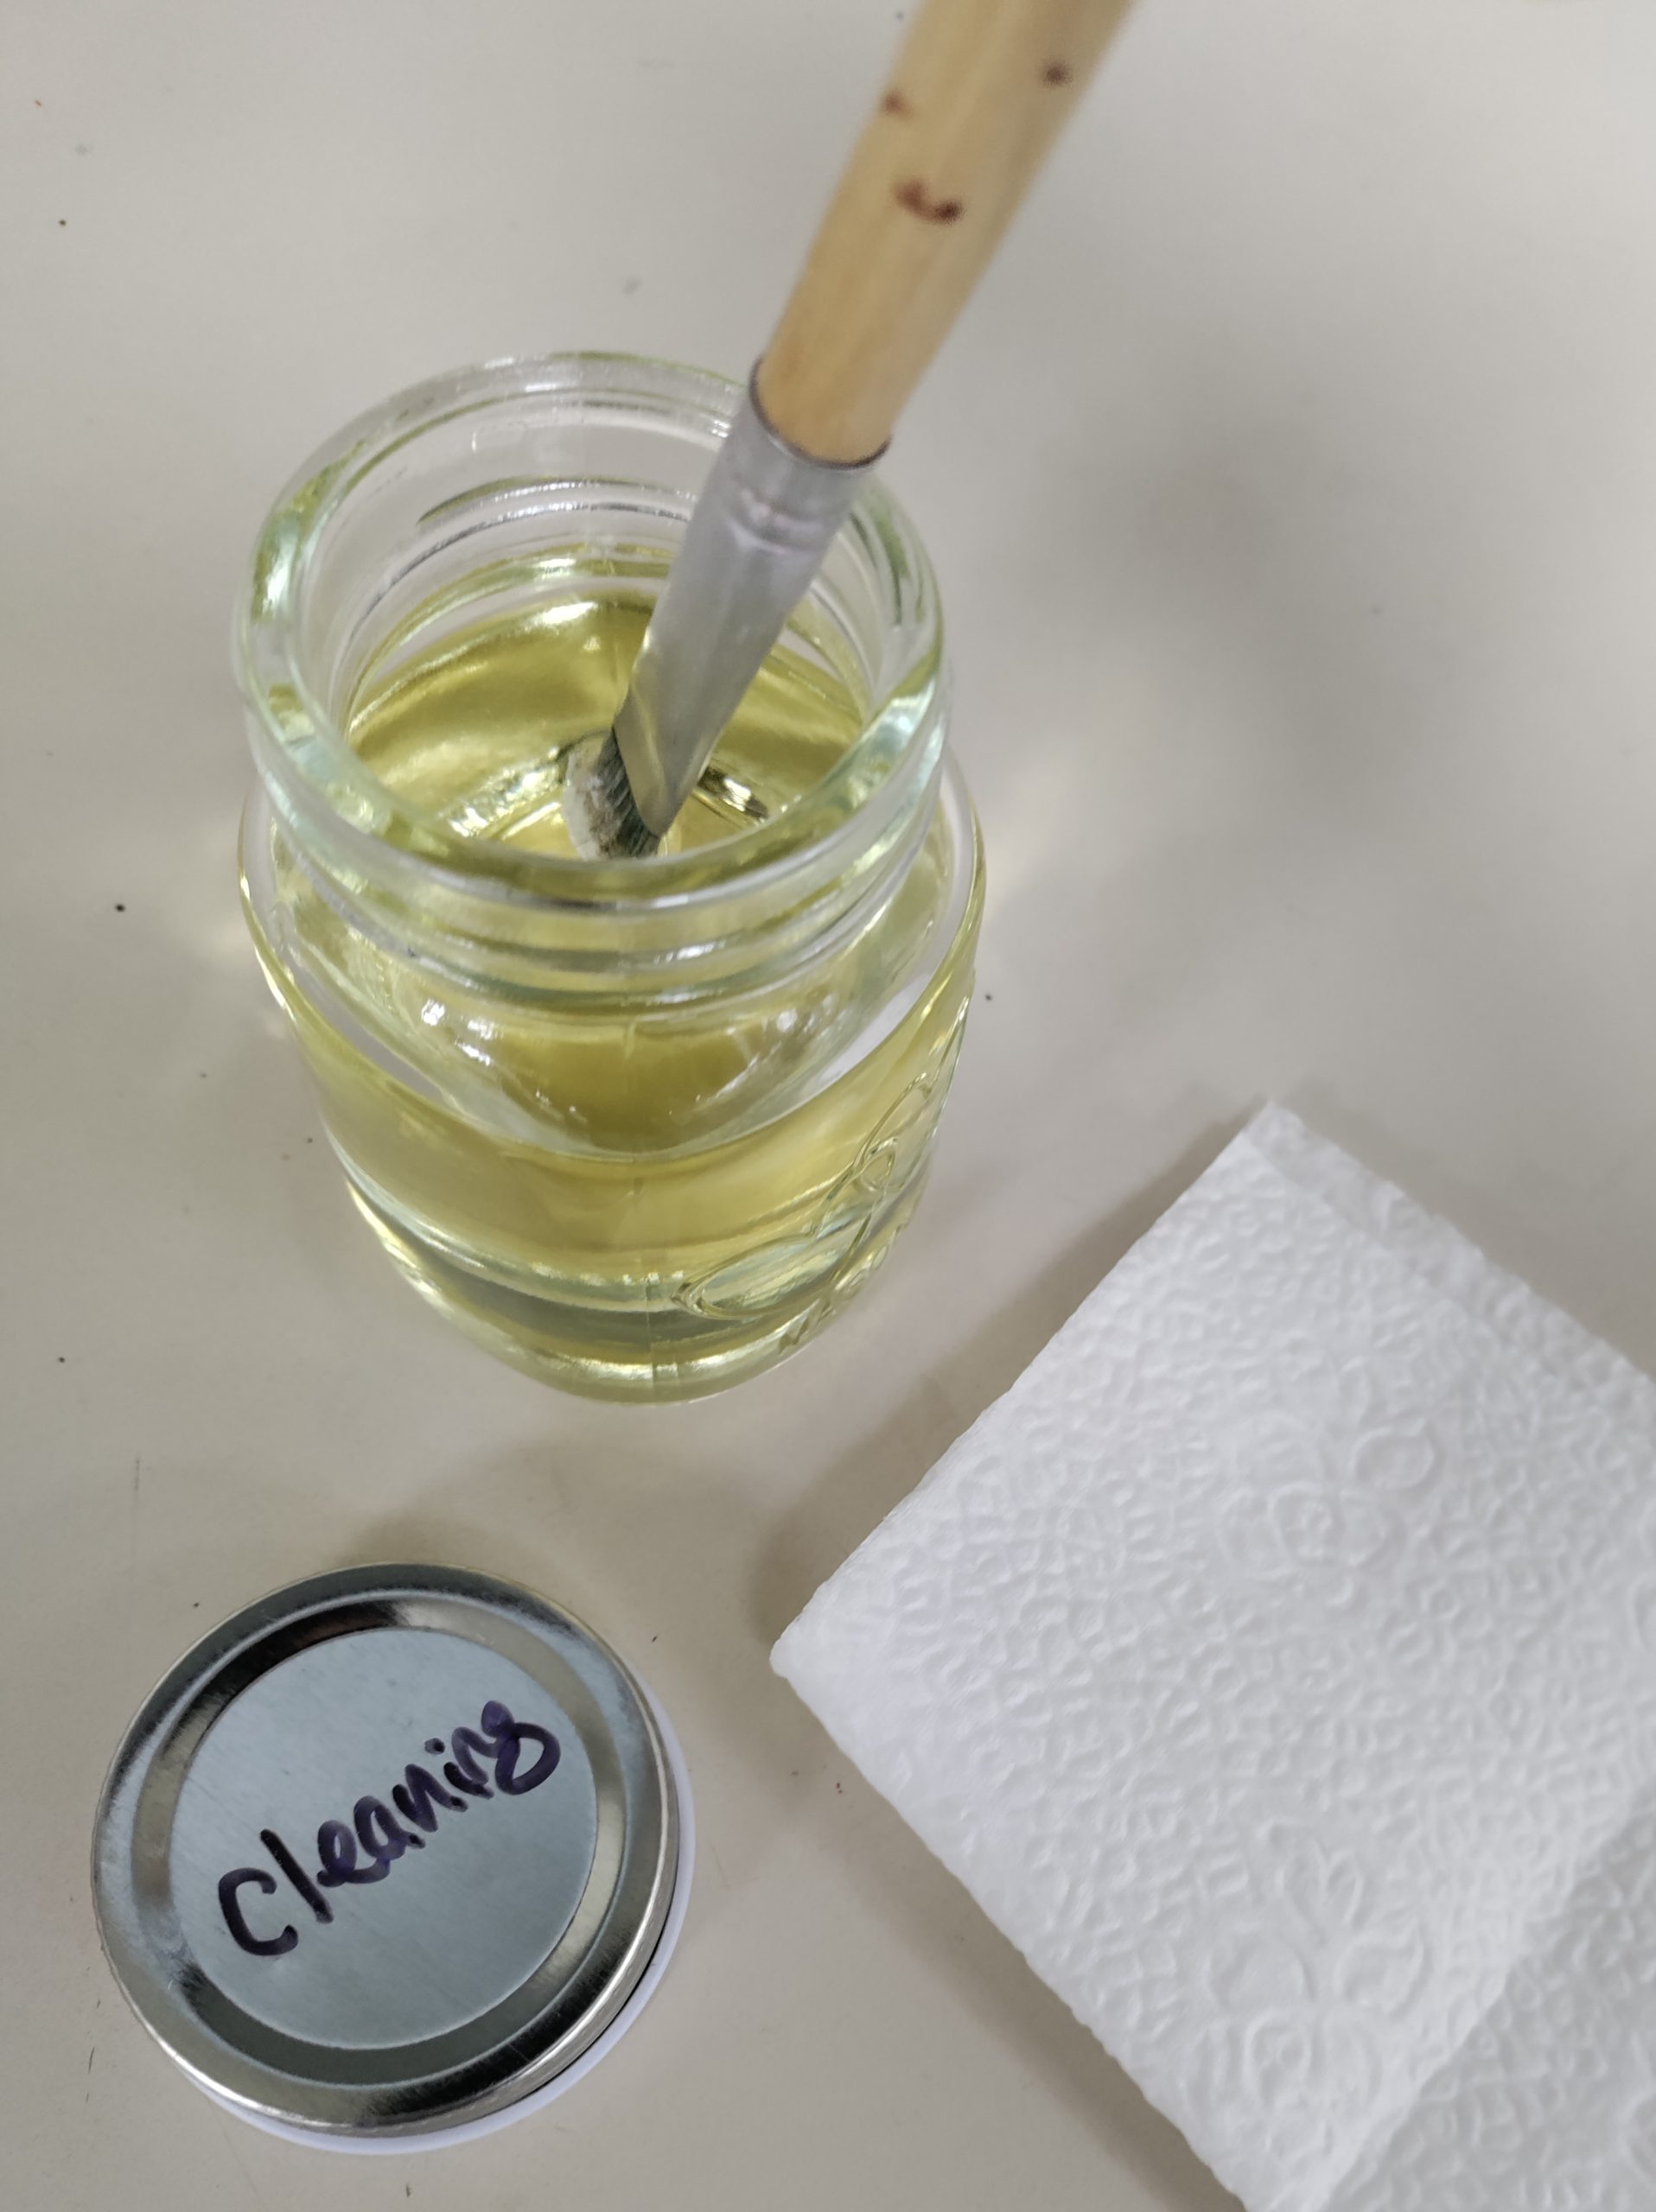
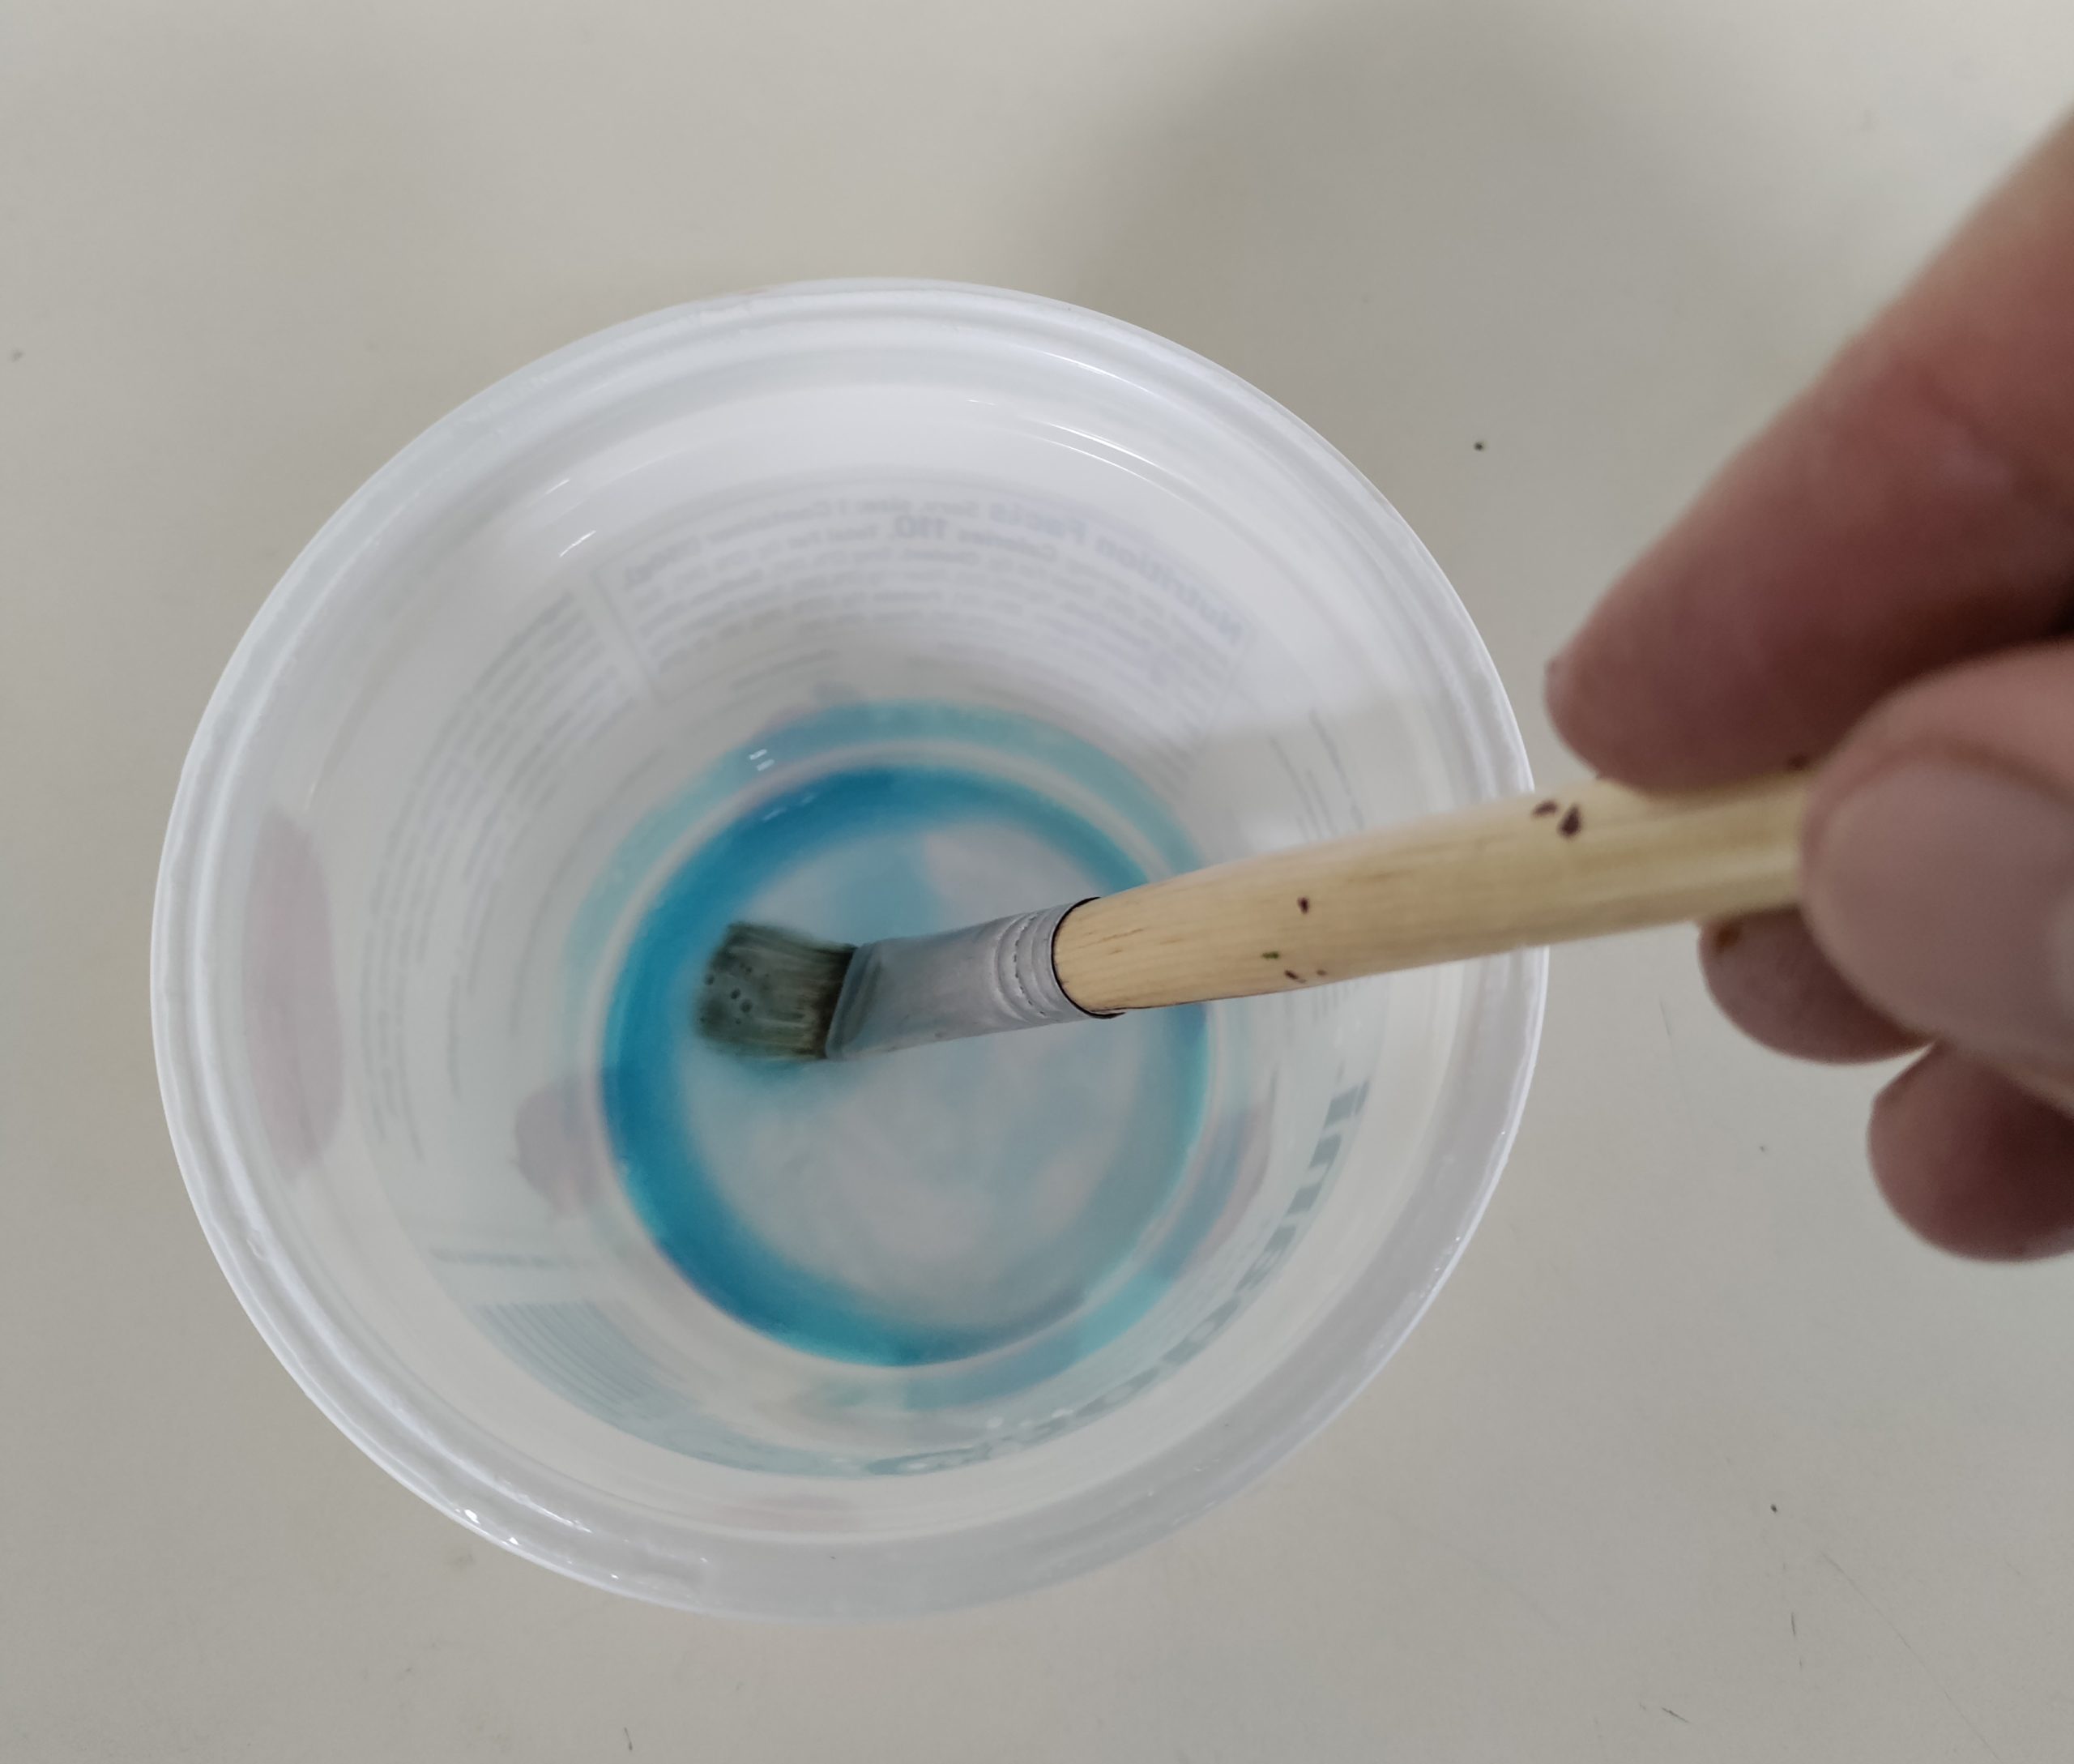
3) For clean-up, we wipe excess paint from brushes with a good-quality paper towel. This removes most of the color. Additionally, the brushes are dipped in vegetable oil and the remaining residue is wiped out with a paper towel. Final cleaning takes place at the sink to pour a small amount of undiluted liquid dish soap into a cup and scrubbing the brush for thorough cleaning. The brushes are rinsed in cool water and reshaped for drying.